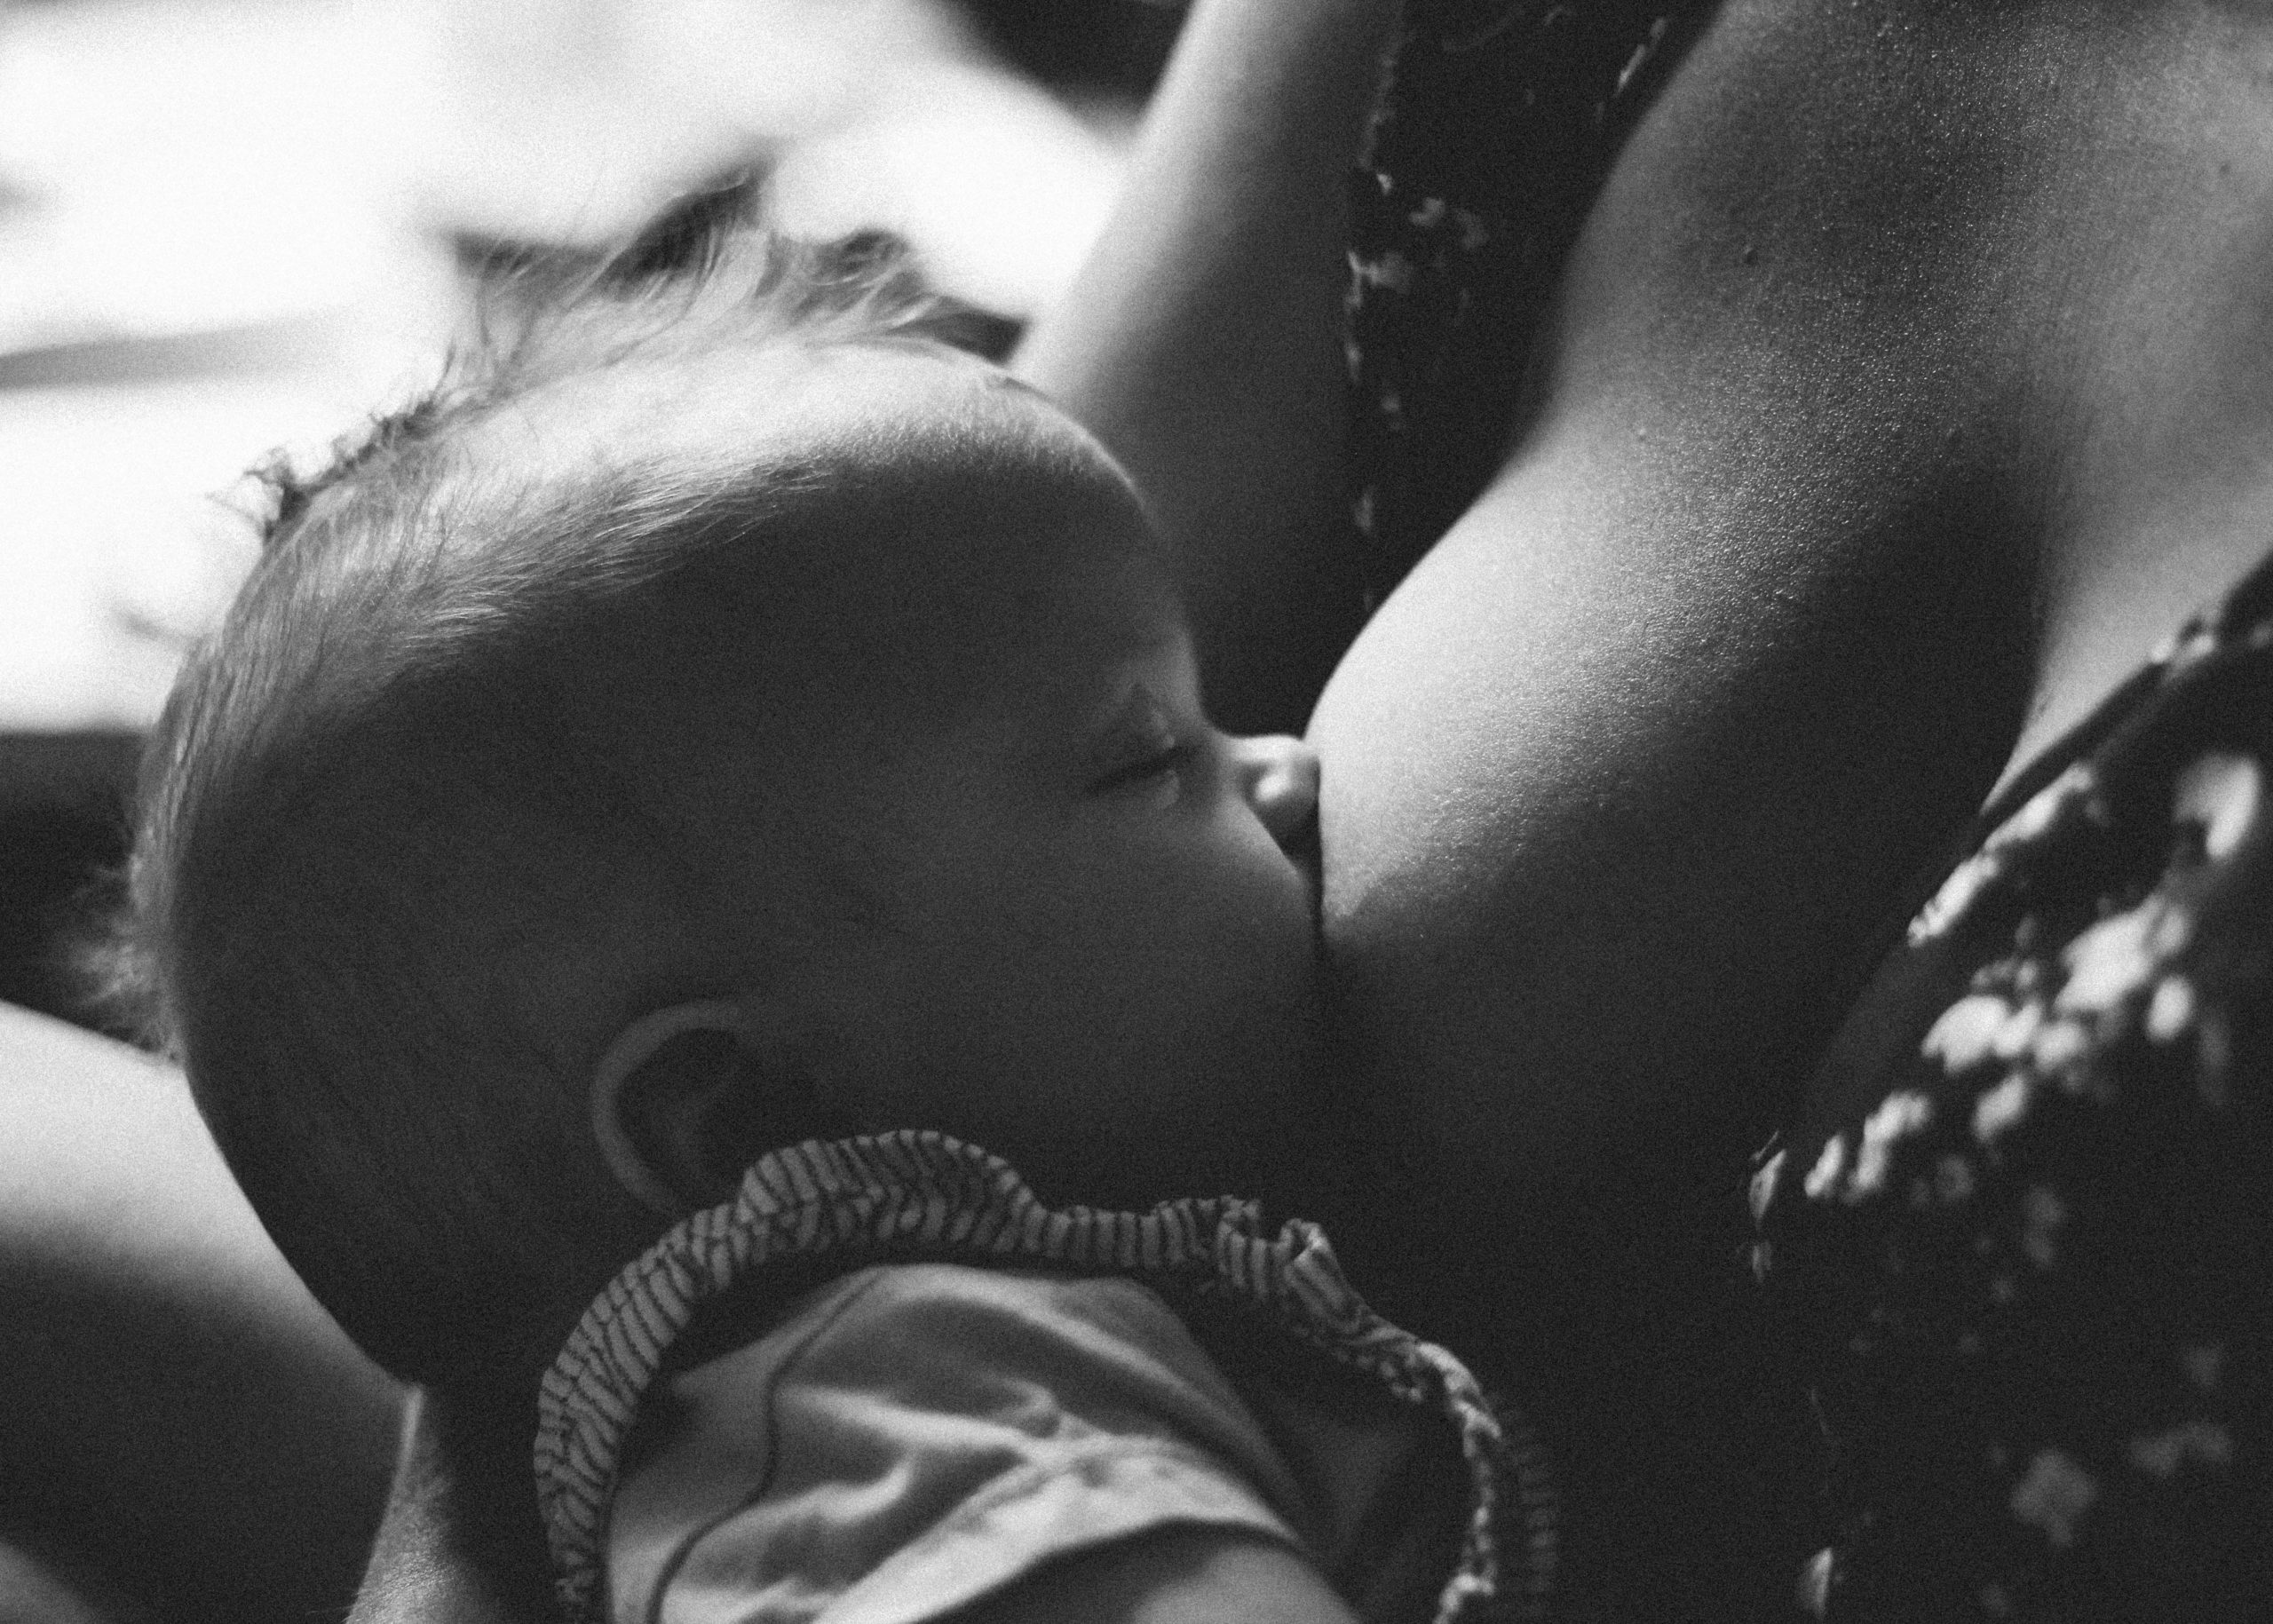
Breast milk jewelry is more than a fad, it is a method of showing a true connection to your child and the bond that only a mother can have. While it may be unusual to some, do not let deter you to finding a piece of jewelry that shows the love and devotion to your baby through this DNA keepsake.
So if you have made it this far chances are good you are looking to turn some of your breastmilk into jewelry. Or for the men browsing, just looking for a way out of this assignment! Just kidding, everyone should be excited to provide a new mother with a keepsake that will not only be memorable, but can be passed down to the child when they are older.
The goal of this guide is to walkthrough the processes used and different types of jewelry. For more specific detail, each piece will eventually have it’s own page of down in the weeds type of explanations. We are constantly updating this page so check back frequently.
Table of Contents
- Breast Milk Rings
- Breast Milk Earrings
- Breast Milk Necklace
- Breast Milk Bracelet
- Other Keepsake Ideas That Are Unusual But Cool
- Placenta Jewelry
Basically there are two choices:
A – Do it Yourself.
B – Use a professional jewelry company to do it for you.
So let’s get started with this overview. Both options can be great!
So what is the process to create jewelry from breast milk?
Follow the video at the end, as well as this general 10 Step Approach To Making Breastmilk Jewelry:
1. Depending on the kit chosen, get a small amount (4 – 6 mL) of breast milk.
2. Pour milk into a pot on the stove. Careful not to use too much heat or use a pan within a pan to distribute heat better.
3. Add preservation powder. Many companies claim this as proprietary, so if you do not want to mix and match on your own like a mad scientist buy the power, it is not overly expensive. Some have tried the cornstarch method, but I messed up a few on my own. I felt my time was better spent elsewhere and just purchased the powder. But if you can do it leave me some tips on how it went for you!
4. Place on parchment paper to let dry for a day or two. It will turn into clumpy matter. Make sure it is completely dry before starting the next step.
5. Grind into powder via a spoon, mortise and pestle or whatever technique you prefer. The goal is to make a fine powder.
6. Store in a sealed container in order to keep dry. No moisture is key!
7. Get resin. Quality resin will never yellow. Again, similar to the powder, I choose to buy quality products online instead of trying to make my own resin. Some come as two part mixes, but are really simple to use. Just read the instructions please! Stir resin slowly & once combined pace into the mold. Do not overfill and pour slowly. Cover the mold as well.
8. Have a few extra molds as you probably have a little extra. Let setup roughly 24hrs or so.
9. Just pop them out of the molds next. File off the little excess as needed, with a nail file. Sand lightly if needed. With VERY fine grit sandpaper.
10. Depending on the type of necklace, ring or pendant, secure it to the setting and you are done! Either snap into prong settings or fill a bezel type setting with the mixture and wait 36 – 48 hours, or more depending on temperature, humidity etc.
Check out the supply chart below, which are some tried and true methods and supplies that other mothers have used.
Supplies = Small plastic cups, syringe to extract milk, beast milk, breast milk preservation power, mixing stick, small plastic bags, small pliers to adjust jewelry settings, resin or cornstarch, rags or towels, and a big bottle of patience!
Also a one stop shop for DIY breast milk jewelry kits exist too!
Breast Milk Rings
Breast feeding is hard work, that is a fact, so if some one wants to celebrate that with a ring you should be fully supportive.
Whether you pump for a full year or more, or just until you can get to the formula stage when you have to go back to work, any amount of milk you can give your child will be beneficial.
Quick word of caution, you will want to avoid direct sunlight and heat for your jewelry or it could change the color. They often will resemble opal anyway, so I would not panic about protecting your ring through paranoia. Wear with pride!
So if you are looking for a quality breast milk ring, here are some key thoughts to remember:
1.Time – Good things take time, so if you are planning ordering from a business or personal creator on Etsy or the like, figure it could take months from start to finish. So if you are planning for a special gift or surprise, keep this in mind.
2. Price – Again, determine a budget before starting as costs can creep up even if you DIY a ring yourself.
3. Design – Do not rush this step, as the rings are meant to last a long time and be part of your family for years to come. Look at many examples before you decide.

Inara Diamond 14kt Gold Or Platinum Breast Milk Ring
14k White Gold Breast Milk Ring
Off all the options of rings, this is probably the most popular among new mothers. You can never go wrong with 14k white gold and many use this as a perfect setting for their higher end pieces.
Breast Milk Earrings
Similar to rings, when looking for earrings or trying to make your own out of breastmilk, here are a few thoughts to consider in your journey:
1. Cost / Quality – As with most jewelry, the higher the cost generally can mean better quality. You do not want a cheap setting that will turn your ear colors just in order to save a few bucks. This is a keepsake we are talking about with love and family history. Read reviews and determine if the quality is where you like, then verify if price is close to your budget.
2. Size – When buying as a gift make sure you know the style of earrings the person likes. Big / small or do they dangle, each person has a preference and you want this to be the perfect gift, so check all the boxes on small details like this before buying.

Sterling Silver Stud Breast Milk Earring
Breast Milk Necklace
You will only need between 5 – 7 ml to make a normal breastmilk necklace, but it never hurts to have some extra on hand. Make sure you freeze some for future use as well, it does not degrade much for making jewelry from it and does not take up much space in your freezer either.
Similar to the rings and earrings, be sure to focus on quality of the necklace, as you want this to be a generational family piece that will be passed down for years to come.
You want your necklace or breast milk pendant to be made of a similar quality of what you would expect from an engagement ring.
Showing the love of your child should not be any less important so why look to save a few bucks and risk your skin discoloring or causing a rash?

Breast Milk Bracelet
Lastly, let’s talk for a minute about bracelets. Of course, you can make these too and I will repeat a point from early on the size. Some like the bracelet to be snug while others do not mind if it slides up and down their arms. But you must know the persons preference or you risk not having the perfect keepsake.
Ask yourself this?
Would I want not only my friends and family to see me wear this bracelet, but also strangers in public? This level of confidence can only be had when you are 100% satisfied with your creation. Take the time to do it right and do your own reviews and research.
How to Make Breast Milk Jewelry DIY
A key point to remember is that you will need some form of breastmilk preservation powder in order to do it yourself in making some liquid love, as I have learned some of the mothers call it. This is available through online kits or you can attempt to make your own. You should be able to find kits with both gold or silver settings, based on your style.
Hopefully this helps you with your decision on whether or not to get some breast milk jewellery made. The next step is to determine whether to send away your milk for a third party to make it or attempting to DIY. Heck, you can even try both!
The jewelry can often last ten years or more if the resin is used and some prefer to always have some frozen milk for the future projects as jewelry can always be unexpectantly lost or stolen too.
I little frozen breast milk will go a long way so you will not need to take up much freezer space.
Here are some useful tips from the CDC on breastfeeding: CDC Breast Feeding Tips
Hopefully this starting guide helps point you in the right direct on making your special keepsake a reality.
Milk jewelry is here to stay!
Other Keepsake Ideas That Are Unusual But Cool
If you thought putting breast milk into a ring was odd, you can also use your hair, placenta or even umbilical cord tissue into jewelry as well. The sky is the limit and if you are a creative soul who wants another permeant bond with your new baby boy or girl I get why new mothers are wanting to do these new made with love keepsakes.
Placenta Jewelry
You thought the milk was eye opening enough… well that is nothing. Jewelry made from placenta is now on tap as the cool new thing for new moms to share that bond with their child.
A bit much for my taste, but who am I to judge! Making a placenta necklace these days is no big deal as there are many kits out there than can help secure and keep any leakage from occurring.
Until next time,
Sharon Dunn


